
JUMPSUIT DEVELOPMENT LIBRARY
Jumpsuits Buying Guides
A one-piece jumpsuit connects the shoulder, waist and crotch in a single pattern. A garment can look neat on a hanger yet pull through the torso when its wearer sits, reaches or bends. These Jumpsuits Buying Guides turn those problems into measurable decisions for product teams. Begin with the intended wearer, an agreed base size and the actual footwear or underlayers used with the style. Then assess the garment standing and moving. Do not assume a larger overall size will solve a short vertical balance: it may add unwanted width while leaving the same strain between shoulder and seat.
These jumpsuits buying guides connect six development decisions: torso length, entry closures, quotation scope, folded packing, pocket load balance and removable sleeves. Start with the fit block and movement evidence, then identify the components and operations priced in the complete one-piece garment. Review packing and convertible parts on the approved sample rather than treating them as separate accessories. Keep the pattern revision, material identity, closure references and approval records together so each decision can be traced to the same style.
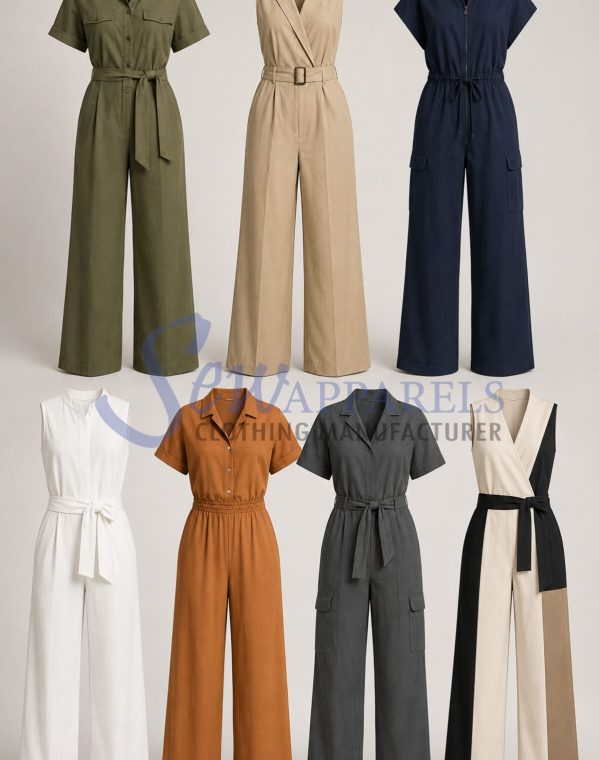
These Jumpsuits Buying Guides use existing one-piece garment style references to support development discussions. The image does not demonstrate torso measurements, movement comfort, closure durability or an approved production sample.
Jumpsuits torso length fitting
Set waist position, rise length and seated ease together so a one-piece fit works beyond the standing pose.
Read the torso-fit guideJumpsuit Quotation Scope Checklist: Whole Garment Comparison
Compare the identified pattern, fabric allocation, component list, sampling and delivery scope. Separate confirmed inclusions from provisional assumptions before approving a one-piece garment quotation.
Review quotation scopeJumpsuit Folded Packing Specification: Alignment and Arrival
Document bodice and trouser alignment, sleeve bulk and accessory retention. Trial the actual retail package and carton, then compare unpacked presentation against the approved receiving process.
Review folded packing specificationsJumpsuit Pocket Load Balance: Support and Moving Fit
Compare empty and loaded fit with identified carried items. Record pocket sagging, waist displacement, access and movement before selecting the support construction and approving the sample.
Review pocket load balanceJumpsuit Removable Sleeve Development: Attachment and Both Modes
Review the identified fastening interface, sleeve alignment and armhole finish in both modes. Connect operation, module identity, care and packing to one traceable convertible sample approval.
Review removable sleeve developmentJumpsuits entry closure planning
Compare a back zipper, front placket and shoulder fastening through a marked sample, dressing trial and buyer decision table.
Read the closure-planning guideJumpsuits Buying Guides: Define Body and Garment Reference Points
In these Jumpsuits Buying Guides, a useful fit brief begins with named landmarks. Identify shoulder or high-point reference, natural waist, intended garment waist, crotch level and any design seam. Record which measurements are body measurements and which are finished garment dimensions. They are not interchangeable: a woven jumpsuit needs a design-specific allowance for movement, underlayers and closure access. ISO 8559-1 gives a framework for anthropometric clothing measurements, but it does not prescribe a universal amount of jumpsuit ease. Use the standard to improve measurement consistency, then approve the actual garment on representative wearers.
Mark the same points on the fit model and on the sample. A waist seam can be deliberately above or below the natural waist; that is a style decision, not automatically a fit error. Photograph the sample front, side and back with the arms relaxed. Record the shoulder-to-waist and waist-to-crotch finished lengths beside the target body references. State whether elastic, a belt, a dropped waist or a shaped waistband can redistribute vertical length. If the brief lacks these landmarks, two suppliers may both claim correct measurements while delivering different silhouettes.
Choose waist position before adjusting the rise
Set the intended waistline while the wearer stands naturally, then watch where it moves when the wearer raises an arm or sits. A seam that climbs sharply can mean insufficient length above the waist, insufficient length below it, or both. Do not lower the waistline just to conceal crotch pull; that can alter pocket height and leg proportion without restoring movement. Check closure length and entry opening at the same time, because the wearer must step into and out of a one-piece garment without stressing a short seam.
For a structured style, draw the intended waist seam on the approved base-size sample. For an elastic waist, measure its relaxed and extended positions and state where it should settle after movement. Review the fit across the size range rather than scaling a single vertical value blindly. Torso proportions differ among wearers who share a chest or hip size. When a problem appears only in one size, identify whether grading, body proportion or assembly variation is responsible before editing the entire pattern range.
Specify front and back rise length separately
Rise is a vertical and curved pattern relationship, not merely a tape measurement on the outside seam. Ask for a front and back rise specification with clear start and end points, seam allowances excluded, and the garment in a consistent laid-flat state. The back may need more contour for sitting and bending, while the front must avoid excess folds. Changing either rise can affect zipper length, pocket opening, waist placement and thigh mobility. Record every linked change in the sample revision rather than approving a rise figure in isolation.
Look for the direction of stress lines. Horizontal pulling through the crotch, a waistband dragged downward at the back, or shoulder pressure while seated may each suggest a different vertical balance. A loose-looking seat when standing can coexist with inadequate seated length. Test the complete garment, including the intended fabric and finish; a pattern in a softer test cloth may hide tension that appears in the final woven fabric. Document the preferred silhouette in both standing and sitting photographs.
Test sitting ease as a movement outcome
Ask a wearer to sit normally, lean forward, reach overhead and step up while wearing the sample. Notice shoulder pressure, crotch contact, waist migration and whether the closure pulls. A published 3D-body sitting-posture study observed changes in several body dimensions between standing and seated positions; its sample is evidence that static measurements alone are limited, not a universal numerical ease rule for every jumpsuit. Use the observation to justify motion trials on your target wearer and cloth.
Use these Jumpsuits Buying Guides to record the amount and location of visible strain, not only a pass/fail label. Check whether the fabric returns to shape after standing, whether a belt or elastic waist absorbs movement and whether a lining changes mobility. A small additional vertical allowance may be more effective than adding width everywhere, but the right adjustment depends on pattern balance. Approve the sample only when the standing silhouette, seated comfort and closure function meet the same brief.
Use a marked sample and decision table
Mark shoulder point A, intended waist line B and crotch level C on the physical sample. Record A–B and B–C on the pattern, the body reference, the wearer size and the fabric used. In the buyer table, give each concern its own row: waist location, front rise, back rise, seated strain and closure entry. Add target appearance, evidence photo, responsible pattern change and acceptance decision. This makes a revision auditable. A note that says only “add torso length” leaves too many possible interpretations and can move the waist or crotch in the wrong direction.
Plan low MOQ jumpsuits for startup brands
These Jumpsuits Buying Guides help a startup brand reduce sampling ambiguity by launching with one fit block, one main fabric and a documented torso standard before multiplying colors or decorative details. For a low MOQ jumpsuit enquiry, share the proposed quantity, size curve, fabric source, closure and fit-model measurements. Ask which trim and fabric combinations are feasible at that volume; there is no universal minimum across suppliers. Include the complete quotation scope, pocket construction, optional removable sleeves and intended retail pack. Confirm whether development revisions and additional modules are included or separately quoted. Preserve approved pattern revisions and standing/seated photographs so later samples and reorders retain the original fit balance.
Turn jumpsuit fit and closure decisions into a product brief
Use these jumpsuits buying guides to prepare one coordinated product brief. Share the intended wearer, fabric behavior, body measurement method, waist line, front and back rise points, closure type and movement-test photographs. Add the marked A–B–C dimensions, opening length, trim model, facing construction and size-set concerns. Include the quotation component list and sample assumptions, identified pocket loads, removable-sleeve interface and module labels, and folded packing trial. State what is approved and what remains conditional. Keep these records aligned with the same pattern revision before requesting a manufacturing quotation or releasing a revised sample.
Explore Jumpsuits manufacturing