
Visor Buying Guides
Visor buying guides help brand teams turn an open-crown concept into a clear development brief. Start with band structure, brim profile, inner sweatband and back adjustment, then record the finished details that the sample must prove before bulk approval. Each choice affects fit, decoration space and the way the finished visor represents the collection.
Use the linked visor buying guides to coordinate open-crown band construction, brim curvature, quality-control checks, wind retention, closure hair contact, retail packing and terry sweatband lint. Keep the wearer, activity, fabric route and decoration method in the same current specification so a change to the band or closure is reviewed alongside comfort and visual balance. Startup brands can discuss a focused sample scope and low MOQ options against their actual design; confirm material availability and order requirements before committing.
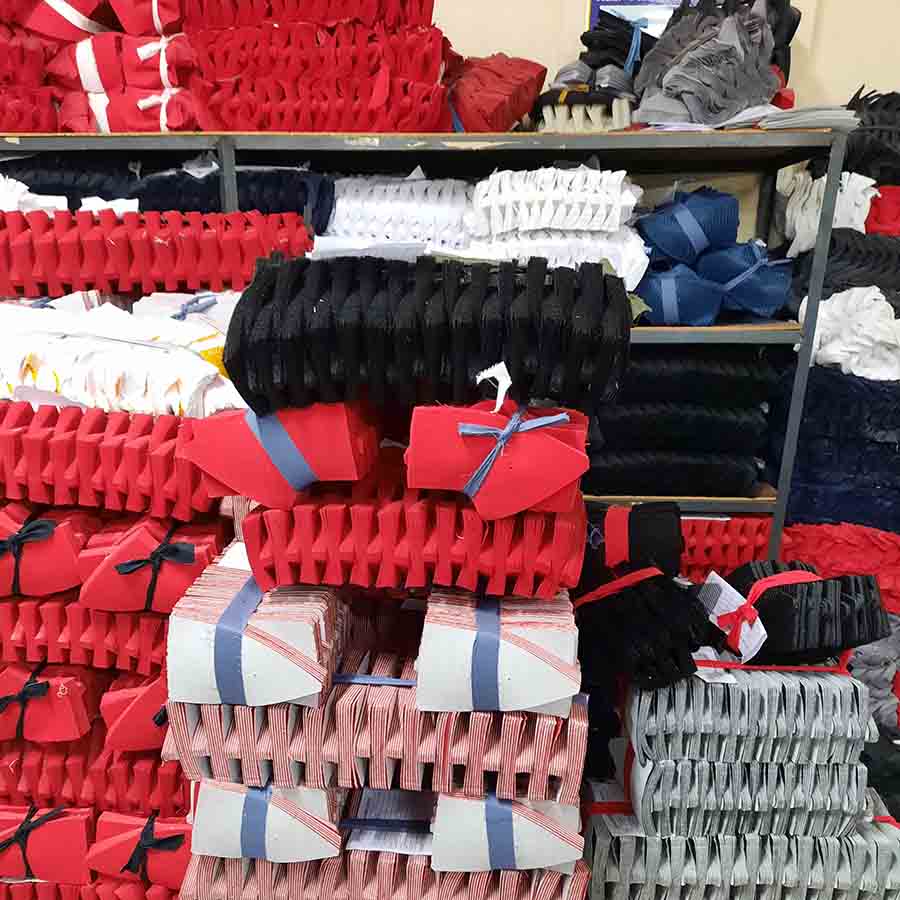
Headwear component-storage reference from the visor product page. This image does not establish fit, wind retention or certification; use the signed sample and documented trial results to approve performance claims.
1. Review open-crown band construction
Compare finished band width, inner sweatband placement and back adjustment as one fit system. Use the technical checklist to record the sample evidence needed before approving a custom visor order.
Read the open-crown band construction guide2. Compare visor curvature choices
Compare flat, lightly curved and pre-curved visor profiles on the intended wearer. Record bill length, width, edge shape, insert stiffness and the angle where the bill meets the front band. Check sun coverage and sightline during movement, then measure symmetry on the approved sample.
Read the visor curvature choices guide3. Check visor quality before bulk approval
Use a practical cap quality-control checklist to inspect bill shape, band width, sweatband attachment, adjustment range, decoration placement and finishing. Select the checks that apply to an open-crown visor, then record measurable limits and the signed sample for repeat production.
Use the cap quality-control checklist4. Evaluate visor retention in airflow
Record starting fit, airflow conditions, lift, rotation and comfort to compare samples without making unsupported wind-rating claims.
Read wind retention evaluation guide5. Review hair contact at visor closures
Inspect exposed hooks, strap edges and normal removal, then compare revised closure arrangements and record care checks before sample approval.
Read closure hair-contact guide6. Review retail packing and return deformation
Compare display contact points, packing supports and customer repacking, then document shape recovery before approving the product-and-package arrangement.
Read retail packing and return guide7. Inspect terry sweatband lint shedding
Separate loose fibres from damaged pile, compare contact and care response, and keep a traceable acceptance reference for the finished sweatband.
Read terry sweatband lint guideHow to Use These Visor Buying Guides
Begin with the decision that is still open. Use our visors open crown band construction guide to organize the band, sweatband and adjustment review. Write down the intended wearer, activity and sample size first, then identify which visible and functional details must be checked on the actual visor rather than assumed from a flat reference.
For the bill, compare more than a front photograph: wear the sample while looking downward and turning the head, then check whether the chosen curve keeps a clear sightline and balanced shade. Measure the bill at fixed points, note insert stiffness, and inspect the left and right edges for symmetry.
For bulk quality control, separate appearance checks from functional checks. Record the band circumference at normal, tight and loose settings; confirm sweatband comfort and closure operation; and inspect the decoration location after the planned care route. A signed reference visor, annotated measurements and close-up photographs make later shipments easier to compare without changing the product standard by memory.
Keep each observation tied to one current sample, material and component route. A visor can look balanced in a front image while the band tension, closure range or brim angle behaves differently during wear. Record measurements from clear construction points, distinguish approved details from open questions and carry the resulting action list into the next sample review.
Prepare a Clear Visor Brief
A useful visor brief starts with a reference image or sketch, intended use, target wearer and planned size range. Add the band width, brim length and curve, sweatband material, back closure, underside colour, artwork position, labels and packing requirements. Mark which items are fixed and which need development so the quotation does not silently become approval of an untested choice.
For the sample, measure the band at centre front and both sides, the inner circumference across its adjustment range, the brim projection from the band and the curve at consistent points. State where the logo may begin and end so embroidery or transfer artwork does not run into the band seam or visor stitching. Include a front, side and worn photograph with the measuring points visible. If the selected fabric, interlining or closure differs from the reference sample, ask for a new fit and shape review before approving bulk.
Keep the artwork file and construction drawing on the same revision. State the available logo area and its measurement from a stable point on the band. When an embroidery, patch or print is proposed, request a wearable sample because the curved band can change apparent size and placement. Record any correction with the exact location, dimension and sample version.
Connect Fit, Decoration and Brim Decisions
The open-crown band, sweatband and closure work together. A wider band can change the logo area and visual proportion; a different sweatband seam can affect comfort; a revised adjustment can alter the usable fit range. Consider these decisions in one review rather than asking separate teams to approve them in isolation.
Test the adjustment at the tight, middle and loose positions on representative wearers. Check that the closure remains secure without pulling the band out of level and that the sweatband does not fold or rub against the forehead after movement. Compare the brim front view and underside in the same lighting before and after the agreed care route. Record who approved each feature and keep the physical visor sample with the dated specification, artwork file and material codes.
The brim should be specified by finished length, width, curve and underside treatment. Check front and side views on the selected wearer range and note how the visor sits above the ears. Compare the finished sample with the approved brief, then separate visual preferences from measurable corrections so the factory can respond without guessing.
Use Technical References Alongside Sample Evidence
For material documentation, OEKO-TEX STANDARD 100 explains harmful-substance testing and product classes. For stretch and growth context where an elastic component is specified, ASTM D2594/D2594M describes a relevant textile test method. Confirm the actual scope of any certificate or report for the selected material.
In these visor buying guides, technical references support a focused supplier discussion; they do not approve the complete visor. Keep certificates, component specifications and sample comments in separate labelled sections of the approval file. Identify the fabric, trim, report date and conditions each document covers, then agree what must be rechecked when a material or construction detail changes.
Low MOQ Visor Manufacturer: Define the First Run
If you are comparing a low MOQ visor manufacturer, define the first order by design, colour and size distribution before requesting a quotation. Fabric choice, band construction, closure, decoration and packing can affect the applicable minimum. Use these visor buying guides to settle the technical direction first, then confirm the minimum, sample charges and development scope in writing for the selected style.
Support for Startup Accessory Brands
Sew Apparels welcomes startup accessory brands and prioritizes early-stage development discussions. Share the intended customer, reference direction, budget range and launch plan so the team can review fit, materials, branding and sample requirements. Keep the first collection focused, identify what needs sample approval and confirm quotation scope, development charges and production milestones before bulk commitment.
Turn Your Visor Decisions into a Product Brief
After using these visor buying guides, collect the current drawing, finished measurements, material references and sample comments in one file. Visit our custom visor manufacturing page to discuss the requested product and its development requirements with Sew Apparels. For measurable brim depth, curve radius and edge-stitching checks, continue with our Visors Visor Curvature Choices: 7 Powerful Checks article before approving the next sample.
Explore visor manufacturing