
Compression shirt flatlock thread breakage needs a controlled investigation before a buyer approves replacement thread, machine adjustments or garment rework. A seam can look neat while relaxed and still fail when the shirt is extended. The useful question is which component failed, under what movement and in which sample condition. A broken needle thread, an unravelling stitch and damaged fabric require different responses.
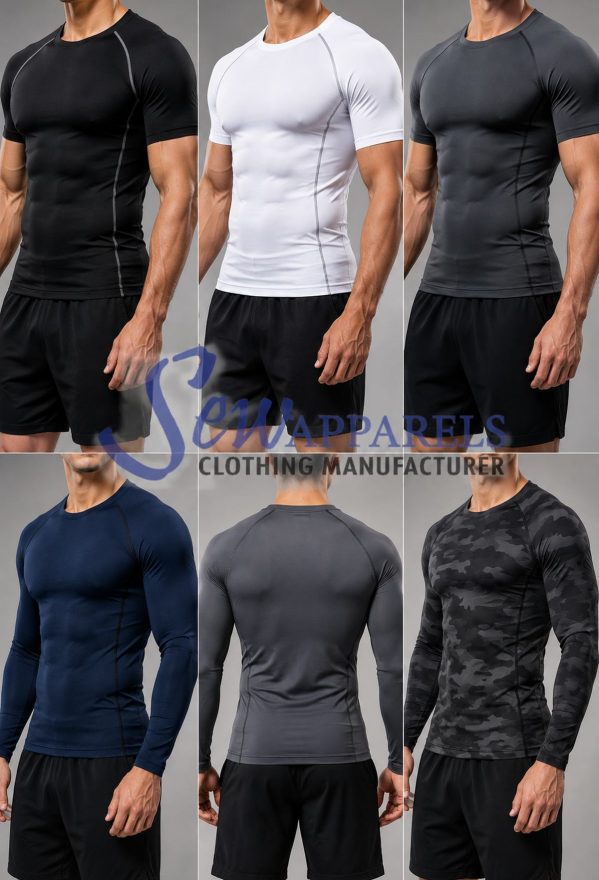
This guide sets out six practical checks for development teams sourcing stretch shirts. Use them to compare identified samples and request evidence from a supplier. They are a purchasing and sample-review framework, not a universal machine prescription or proof that a garment meets a particular performance standard. Agree the intended use, care instructions and acceptance criteria before testing.
Why compression shirt flatlock thread breakage deserves a separate review
A close-fitting shirt puts demands on both fabric and seams during dressing, reaching and repeated movement. Fabric stretch alone does not establish seam extensibility. The stitch construction, thread combination and sewing process must accommodate the extension expected at the relevant seam. A comfortable relaxed sample therefore cannot substitute for a movement and recovery assessment.
Describe the actual construction rather than relying only on the word flatlock. Ask the technician to identify the stitch type, needle arrangement and thread positions. Similar-looking seams can contain different thread paths and material combinations. Photograph the face and reverse before damage occurs so later comparisons do not depend on memory or a generic product description.
1. Identify whether thread or fabric failed
Begin with the damaged sample. Mark the first visible failure point and inspect the surrounding stitches without pulling the seam apart. Determine whether a thread has ruptured, stitches have skipped or unravelled, or fabric yarns have broken beside the stitching. These observations help separate flatlock seam thread rupture from compression seam elongation failure caused by another part of the assembly.
Compression shirt flatlock thread breakage should not be diagnosed from a photograph showing only an opened seam. Ask for close views of both sides and an undamaged comparison from the same production lot. Record whether the break starts at an intersection, seam end, curved area or straight section. Localised failure may need a different investigation from damage repeated along the whole stitch line.
Keep the compression shirt fabric versus thread break findings separate in the report. Holes beside a seam, surface abrasion and broken fabric yarns should remain visible findings even when a thread also fails. Do not accept a stronger thread as the entire solution without examining whether the revised construction transfers the problem into the surrounding material. Retain the original sample for comparison with any corrected version.
2. Confirm the thread identity and construction
Request a thread schedule identifying the needle, looper and any spreader positions used in the actual seam. Include the supplier reference, material, size designation, colour and lot information available for each thread. Stretch shirt seam thread identity matters because a production substitution can change the assembly without changing its outward appearance. A general statement such as polyester thread is too broad for repeatable approval.
Coats discusses the relationship between thread selection, strength, required extension and softness in its Soft and Secure Seams technical guide. Treat that guidance as background for discussion with the thread supplier. Its construction examples do not certify the proposed shirt or establish a single thread combination suitable for every fabric and fit.
For compression shirt flatlock thread breakage, request a comparison using the same fabric and seam location when thread identity changes. Keep the original and substitute samples clearly labelled. Review skin-facing feel, visible coverage and recovery alongside the failure observation. Thread substitution seam approval should describe the accepted configuration, not merely authorise any available alternative with a similar colour.
3. Review tension through a documented sewing trial
Ask a qualified sewing technician to run a flatlock thread tension trial using the identified construction. Keep a baseline sample and record each controlled change. Compare stitch balance and appearance before extension, during the agreed movement and after release. Avoid changing thread, fabric, stitch density and handling simultaneously because the resulting improvement would be difficult to attribute or reproduce.
A&E’s Sewing Stretch Knit Fabrics bulletin identifies thread selection, stitch density, balance and seam geometry as relevant to broken stitches. These principles support a structured technical review. The settings illustrated in that bulletin should not be copied into a purchase specification without confirming their suitability for the particular machine, fabric and stitch construction.
When investigating compression shirt flatlock thread breakage, ask the technician to explain the change and show the corresponding sample. A note saying tension adjusted does not establish which thread path changed or whether the revised seam still feels acceptable. Keep a short flatlock trial comparison sheet showing the baseline, the controlled adjustment, the observed result and the next decision.
4. Define extension direction and repeated movement
A seam extension direction test should specify how the seam is loaded. Extension along the stitch line differs from loading across it. Identify the relevant garment movement and seam orientation, then agree a reproducible review procedure. If a laboratory method is required, confirm its scope and reporting requirements with the laboratory before describing any informal sample exercise as a standard test.
Compression shirt flatlock thread breakage may appear during dressing rather than in the relaxed inspection. Evaluate the appropriate finished-garment size as well as a sewing trial where necessary. Record the sample dimensions and the agreed extension condition instead of reporting only that the shirt was pulled hard. An unspecified hand pull cannot establish a meaningful comparison between suppliers or batches.
Include stretch seam repeated extension where the intended use warrants it. Agree the repetitions, recovery interval and observations in advance; do not invent a universal pass number. Record broken stitches, permanent opening, distortion and feel after release. Elastic seam extensibility evidence is strongest when the procedure and sample identity are clear enough for another reviewer to repeat the comparison.
5. Compare unwashed and cared-for samples
Review the seam before and after the agreed care process. Identify the washing, drying and conditioning conditions used, and keep them aligned with the proposed care instructions. A flatlock after wash failure should be recorded separately from damage found before care. Using different care conditions for the original and corrected samples makes the result harder to interpret.
Do not assume compression shirt flatlock thread breakage after washing proves that laundering caused the defect. A pre-existing sewing weakness may become visible during subsequent handling. Compare documented starting conditions and retain sample labels throughout the process. Include changes in fit, fabric condition and seam appearance so the review captures the whole assembly rather than only counting broken threads.
Where several colours or material lots are involved, identify the scope of the review. One successful sample should not silently become approval for every variant. Agree which combinations need checking and which can reasonably share evidence. Ask for an explanation where a supplier proposes to apply the result from one fabric or thread combination to another.
6. Make a repair and batch-release decision
A flatlock seam repair decision should consider the damaged fabric, seam accessibility and the effect of re-sewing on appearance and fit. Ask for a proposed repair sample before authorising batch work. Compare it with the original approved construction under the same agreed review conditions. Re-sewing is not automatically suitable when needle damage or material distortion is already present.
Before closing compression shirt flatlock thread breakage, obtain a corrected sample with a clear revision reference. Confirm what changed and what remained constant. If repair is unsuitable, discuss replacement or another agreed disposition instead of concealing the issue in a general inspection note. Record the decision-maker, date and scope of approval, including any combinations still awaiting evidence.
Production flatlock sample review should also check that the approved configuration reached the sewing line. Retain the thread schedule and relevant process records with the reference sample. Agree how subsequent substitutions will be handled and what triggers another review. This reduces the chance that a successful development trial is treated as permission to alter production details without notice.
A concise failure record for the supplier
Create one compression seam failure record for each identified issue. Include the style, size, fabric reference, sample revision, seam location, thread positions and condition at inspection. Add photographs, the agreed extension procedure, care details and observations. Separate facts from suspected causes so a reviewer can see what is established and what still requires a trial.
- Observed failure: thread rupture, skipped or unravelling stitch, fabric damage, or a combination.
- Trial comparison: baseline and revised construction with controlled changes identified.
- Review conditions: direction, repetition, care and recovery observations.
- Disposition: revised sample, repair trial, replacement proposal or further investigation.
- Approval scope: accepted configuration, applicable variants and production follow-up.
This format keeps compression stitch break diagnosis accountable. It also prevents a supplier’s explanation from being mistaken for demonstrated cause. A useful report can remain concise while preserving the evidence needed for a commercial decision. Where findings disagree, repeat the agreed comparison with identified samples before assigning responsibility or releasing affected goods.
Turn the findings into a manufacturing brief
For custom compression shirt manufacturing, provide the intended fit, material information, seam map and care requirements alongside the failure evidence. Private label compression shirt production needs an approved construction that can be repeated, not just a visually attractive prototype. Discuss quantities and development constraints directly rather than assuming a generic minimum order or guaranteed repair outcome.
Use the existing Compression Shirts Buying Guides to organise related product-development decisions. Keep this seam investigation attached to the relevant shirt brief and revision record. The purpose is to make a better approval decision before production, with traceable evidence for the specified garment and conditions.
Frequently asked questions
Does a stronger thread solve every broken seam?
No. The cause may involve stitch balance, construction, material damage or the demands placed on the assembly. Compare an identified revised sample and inspect the fabric as well as the thread before approving a substitution.
Can a relaxed sample prove that the seam stretches adequately?
No. Agree the relevant extension and recovery review, then evaluate the identified seam under those conditions. A neat appearance at rest does not establish performance during dressing or movement.
What evidence should accompany the corrected sample?
Request the revised thread schedule, controlled trial notes and results under the agreed extension and care conditions. Compression shirt flatlock thread breakage is ready for a closure decision when the correction and approval scope are documented, rather than when the sample simply looks better.
Connect the seam map to the body-mapped compression shirt panel design so the sample review assesses the actual panel joins and intended movement rather than an unrelated straight seam.